


- Greet your students. Let them know you are happy to see them. Students need to know you like them as people first. Work to recognize each one by name. At the end of the class, stand by the door, say goodbye, let them know what they did well, you are anxious to see them the next time, and offer encouragement for the next class.
- Start the day by verbally talking about what you did at the last class session and what you want to get accomplished today. Present an overview and put a list on an overhead or whiteboard. If class is not progressing as you had hoped, refer to the list and indicate where you are on the list and how much more they need to get done with the time remaining.
- Review the last lesson. You are checking for retention here. Sometimes you may have to reinforce or explain the concept one more time. If you are working from a method book, go back to the beginning and play one line from every couple of pages. This provides a great review and shows the students how far they have progressed.
- Introduce what you are going to do today. Give them an overview of what you want to do. Write out rhythms for them to drill prior to beginning the rehearsal. Look for any awkward fingerings and explain if necessary. If possible, play an excerpt of the music you will be playing.
- At the end of the lesson, review what you accomplished that day. Go over each individual work and let them know what they did well and what needs to be worked on next time. Give specific directions on what they should practice before the next class. End by presenting an overview of what you will cover in the next class and thanking them for their work, attention and efforts.
- Listen to your language. Use the word AND instead of BUT. Avoid the blanket “very good” or “good job” or “excellent.” Be specific with your praise as well as your criticism. Example: “Clarinets, you did a good job playing the correct notes, AND next time we really need to focus on greater dynamic contrast. Play the soft parts softer and the loud parts louder.” This will make a much better impression than sayings, “Clarinets, that was pretty good BUT you need to do more with dynamics.”
- Offer one piece of information at a time. Giving too many instructions at once will confuse the students. Concentrating on one thing at a time puts everyone’s focus on the same issue.
- Engage ALL the students. Don’t let them sit there bored. Ask them questions. Ask them to model or perform the material. Instead of stopping and addressing a particular section, address the entire ensemble. Stopping and saying “trumpets, we need to standardize the articulation in this section” means you are only speaking to the trumpets and everyone else doesn’t have to pay attention. A better approach is to say, “I want everyone to listen to the trumpet section and tell me if they are all articulating this section the same way.” This way, you are keeping their attention and developing their critical listening skills.
- Always check posture. Never allow a student to play with bad posture or incorrect hand position. Inform them that you notice a posture error in the flute section or a hand position error in the trombone section. This will require consistent reinforcement until it becomes a habit on the part of the player. Another way to do it is to find a student with the instrument position or posture you are looking for and ask all the members of the section to do it the same way
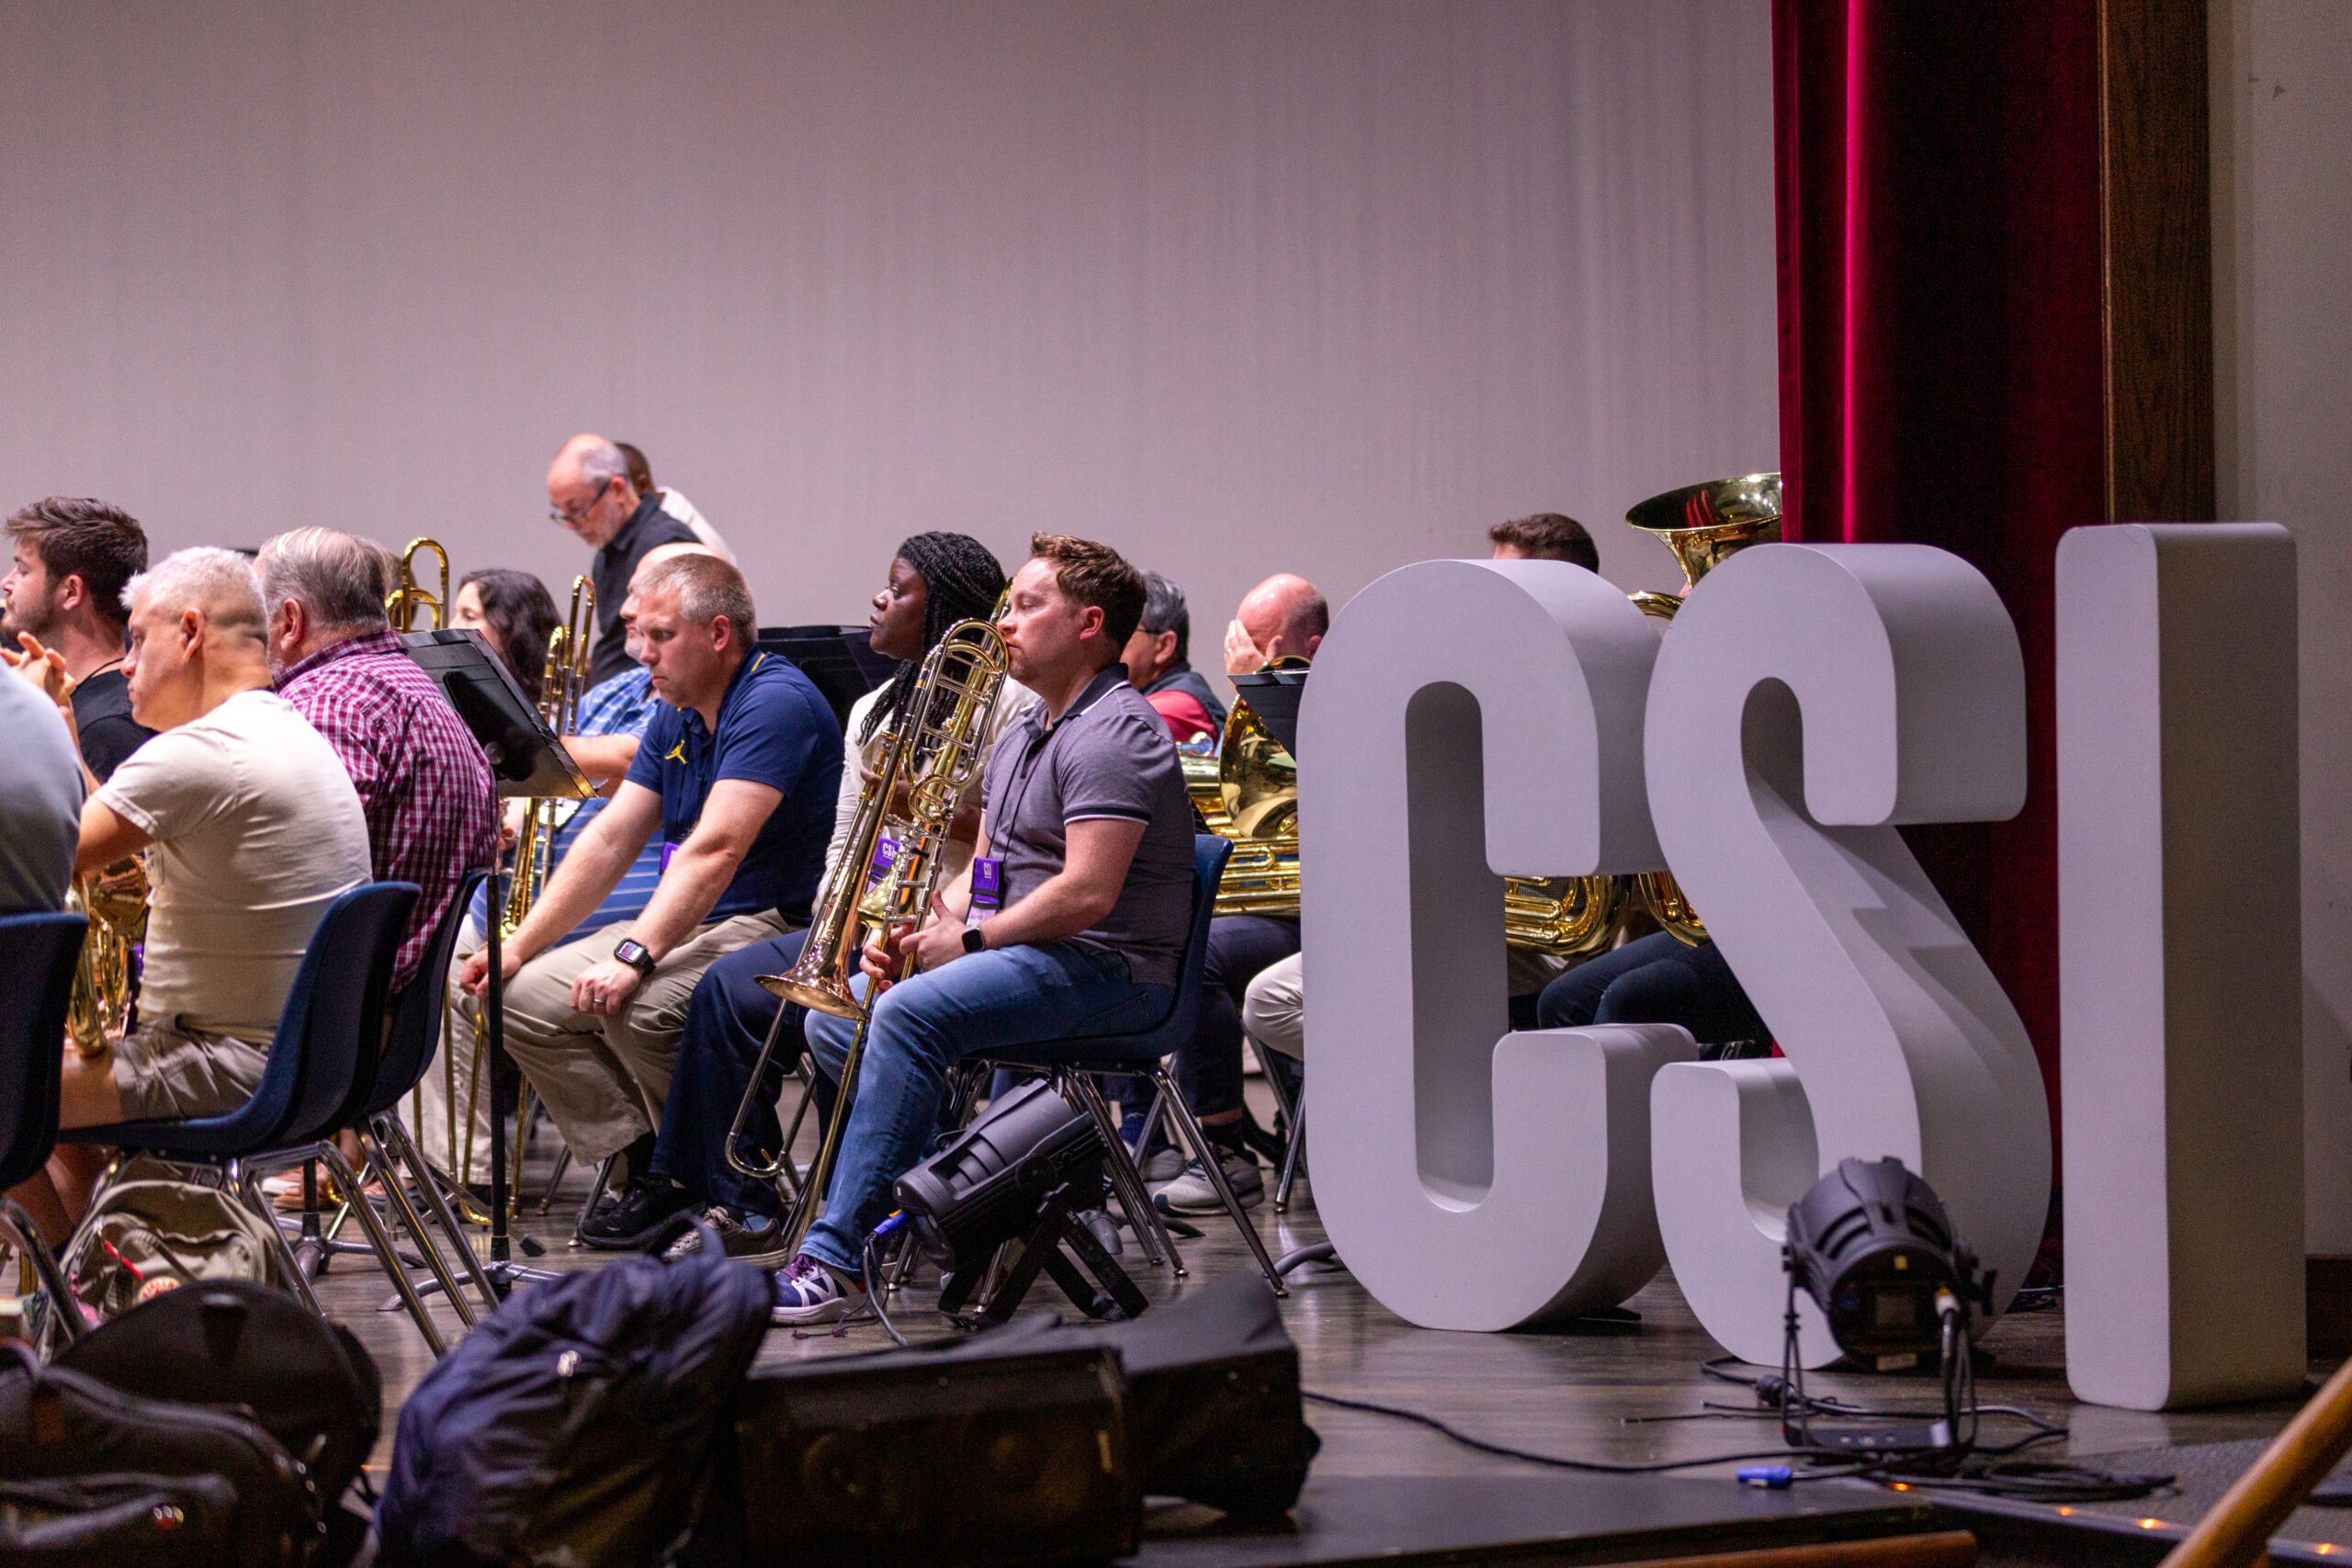
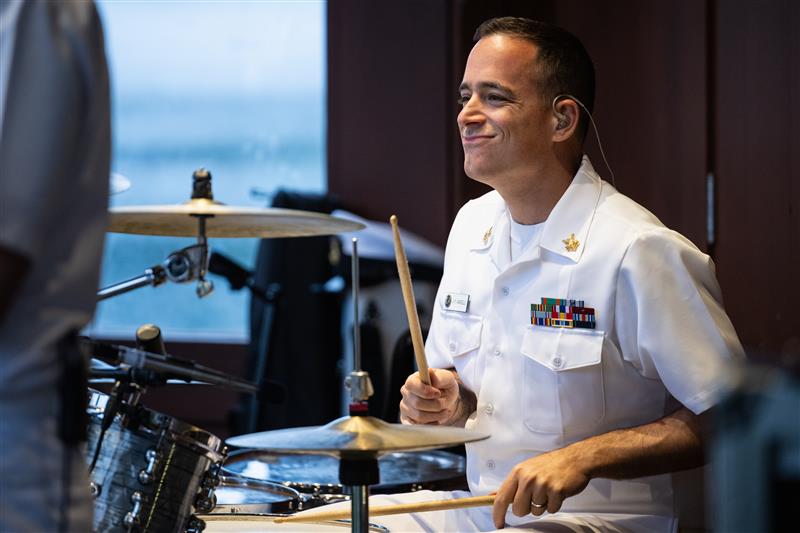
- Check students’ instruments on a regular basis, especially woodwinds. Check the pads, corks, springs and overall action. Be sure woodwinds are using good reeds and have spares at the ready. Check brass instrument slides, valves and look for dents that might impair tone quality. Check the mouthpiece to see if it needs to be cleaned as well as the end of the shank to be sure it has not been dented. In the percussion section, look at students’ drumsticks and tap the snare drum and examine the drumheads and other accessories for damage.
These simple strategies will save you a lot of time and energy in the long run.


